DIY Guide: Create Your Own Clip-In Hair Extensions at Home (Step-by-Step)
Imagine clip-in hair extensions designed entirely for you—your length, your texture, your density. The kind that slips in seamlessly and feels just as luxe as a salon install. The best part? You can craft them yourself at home, and yes—it’s easier (and more glamorous) than you think.
No Time for DIY? Shop the Clip-In Icons Everyone’s Talking About
Salon-quality clip-ins made from 100% human hair that blend beautifully—no sewing, no cutting, just instant volume.


Before You Thread a Needle: What to Know About DIY Clip-Ins
DIY is perfect if you want custom widths and control over density. If you’re short on time or prefer a ready-to-wear set, our clip-ins deliver salon-quality results in minutes.
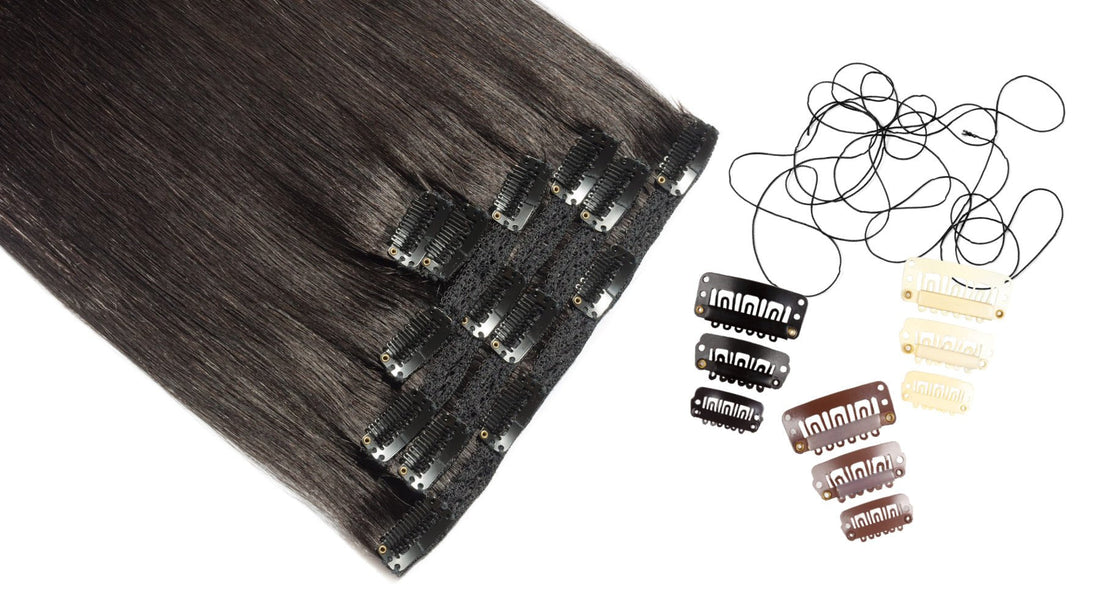
Before we dive in, gather your premium human hair wefts, wig clips, hair scissors, a curved sewing needle, thread, and (optional) measuring tape.
We don’t recommend buying loose bulk “ponytail hair” for DIY clip-ins. While it can be cost-effective, it’s time-consuming and difficult to turn loose hair into a durable weft at home. Remember—we’re doing DIY, not hair torture!
Skip the DIY: Instant Volume, Zero Sewing
Get a flawless finish with our ready-made Clip-In Hair Extensions—crafted from 100% real hair.
Shop Clip-In Extensions
Not Sure Which Hair Type to Use?
Let our expert guide you in choosing the best wefts or clip-ins for your hair. It’s free, fast, and tailored to your texture.
Use the Texture ConciergeWe recommend premium human hair wefts. Human hair gives you styling freedom—color, curl, flat iron, wash, and cut—without destroying the extensions, and it blends more naturally with your own hair.
Explore our Raw Human Hair Extensions or Textured Curly Hair Extensions.
Related: How to Care for Your Hair Extensions Overnight (Expert Tips)
Your DIY Clip-In Guide, Step by Step
Step 1: Prep Your Weft Like a Pro

- Thread the needle: Double the thread and tie off the ends to secure.
- Double the wefts: Unwrap your bundles and double them for fullness.
- Sew the wefts together: Secure the ends first, then sew across the weft to keep it flat and consistent.
Step 2: Measure, Cut & Customize

- Measure the nape: Start within the hairline so edges don’t peek out.
- Measure ear-to-ear: Create wider pieces for mid-head coverage.
- Cut the weft: Trim to your measurements for each row.
Step 3: Secure Your Wefts for Seamless Wear

- Anchor your thread: Knot the thread to the net to start.
- Position the wefts: Place according to your layout for even distribution.
- Sew the wefts: Sew 2–3 lines across each weft to secure.
- Repeat: Continue until all measured pieces are attached.
Step 4: Sew in the Clips with Confidence

- Attach the wig clips: Keep the comb facing outward; use 2–5 clips depending on the width.
- Secure the clips: Stitch through each clip hole at least twice.
- Check direction: Open the clip before sewing to avoid stitching it backward.
SL Raw Pro Notes
- Do not sleep in your clip-ins; always remove them before bed.
- Do not glue clips—sewing lasts longer and is more secure.
And that’s how you make your DIY clip-in extensions—simple, practical, and affordable.
With proper care, you can reuse your Premium Human Hair Clip-Ins for months.
Related: Discover 7 Easy Hair Extensions to Put In Yourself
Custom-Crafted or Ready-to-Wear: The Clip-In Choice Is Yours
Sew your set or shop our ready-made styles—we’ve got the clip-ins to match your texture and lifestyle.
Browse All Clip-InsEvery order supports ethical sourcing and expert quality—real hair, real results.